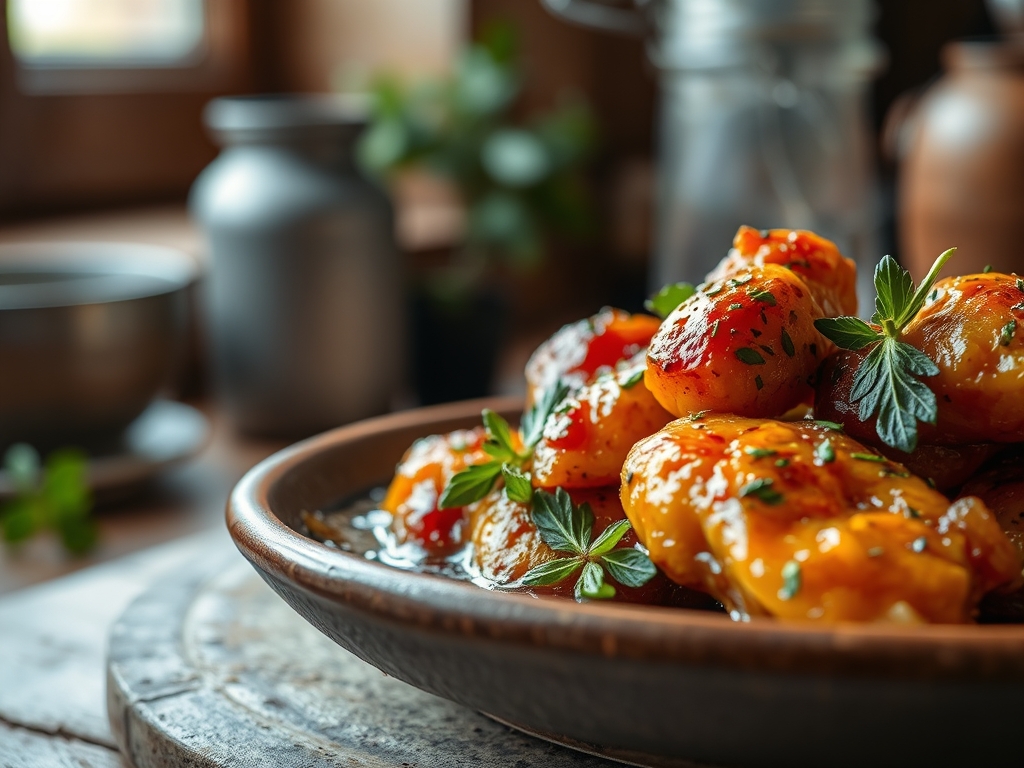
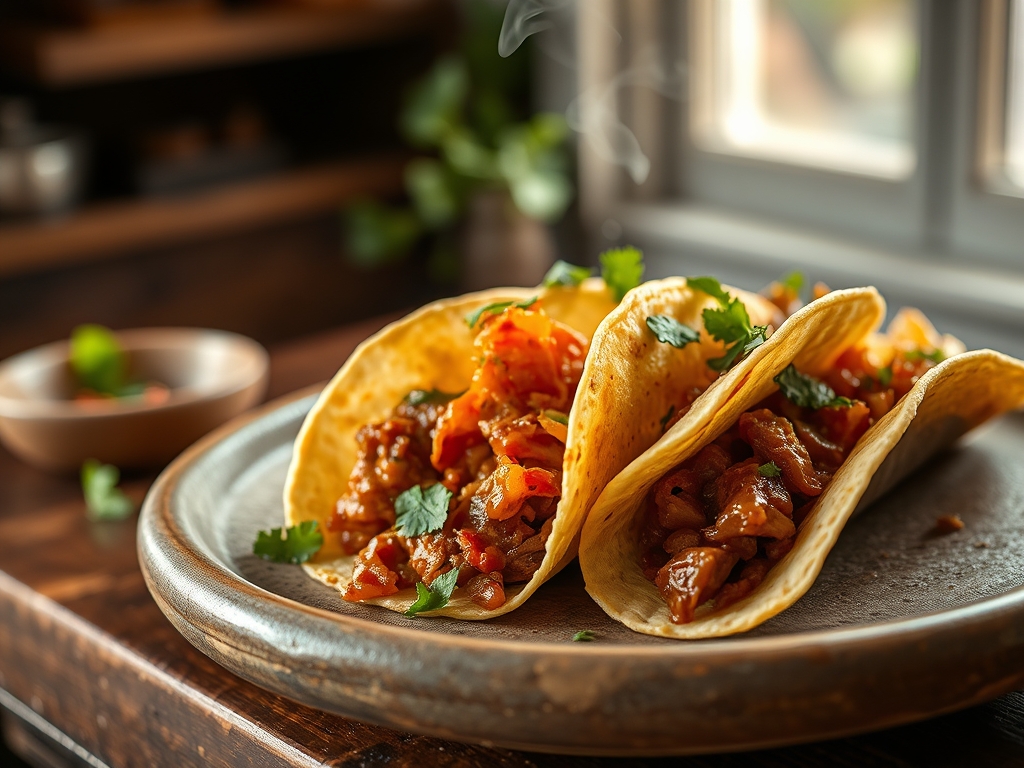
The air in a high performance kitchen during a long braise is not just an aroma; it is a heavy, humid promise of structural failure. When we talk about Mexican Birria Tacos, we are discussing the deliberate, tactical demolition of connective tissue. This is not mere cooking. It is a biological audit of beef shank and shoulder, where heat acts as the liquidator of collagen. You are looking for that specific, deep crimson consomme that shimmers with rendered fat; a liquid gold that coats the palate with a piquant intensity. The goal is a meat texture so fragile it collapses under the weight of a whisper, yet retains enough structural integrity to be seared into a crisp, corn tortilla. We are engineering a sensory overload where the acidity of dried chilies meets the velvety richness of melted marrow. If your kitchen does not smell like a spicy, earthy sanctuary within three hours, your thermal parameters are off. Prepare for a deep dive into the infrastructure of the ultimate taco.
THE DATA MATRIX
| Metric | Specification |
|---|---|
| Prep Time | 45 Minutes |
| Execution Time | 4 to 6 Hours |
| Yield | 10 to 12 Servings |
| Complexity | 7 / 10 |
| Estimated Cost per Serving | $3.50 USD |
THE GATHERS
Ingredient Protocol:
- Beef Chuck Roast: 1.36kg / 3 lbs
- Beef Shank (with bone): 900g / 2 lbs
- Guajillo Chilies (Dried): 50g / 1.75 oz
- Ancho Chilies (Dried): 30g / 1 oz
- Chiles de Arbol: 5g / 0.2 oz (Adjust for heat)
- White Onion: 300g / 2 medium onions
- Garlic Cloves: 40g / 8 to 10 cloves
- Apple Cider Vinegar: 60ml / 0.25 cup
- Crushed Tomatoes: 400g / 14.5 oz
- Cinnamon Stick: 1 whole (Mexican Canela preferred)
- Dried Oregano: 5g / 1 tbsp
- Ground Cumin: 4g / 1 tsp
- Beef Bone Broth: 1.5L / 6 cups
- Corn Tortillas: 24 to 30 units
- Oaxaca Cheese: 450g / 1 lb
Section A: Ingredient Quality Audit:
If your dried chilies are brittle and shatter like glass, they are geriatric and devoid of essential oils. To fix this, flash toast them in a dry saucier for 30 seconds to wake up the remaining phenols before hydrating. If your beef lacks intramuscular fat (marbling), the end result will be stringy rather than succulent. Supplement lean cuts by adding 50g of beef tallow or high quality lard to the braising liquid to ensure a viscous mouthfeel. Using standard table salt instead of Kosher salt will lead to over-salting; always calibrate your salinity using a digital scale to maintain a 1.5 percent salt-to-weight ratio.
THE MASTERCLASS
Step-by-Step Execution:
1. The Maillard Foundation
Pat the beef completely dry using lint free towels. Season aggressively with salt. Heat a heavy bottomed Dutch oven or professional braiser over high heat. Sear the meat in batches until a thick, dark crust forms on all sides.
Pro Tip: This crust is the result of the Maillard reaction, creating complex flavor compounds that cannot be replicated later. Use a digital infrared thermometer to ensure your pan surface is at least 204C / 400F before the meat makes contact.
2. The Chili Infrastructure
Remove stems and seeds from the dried chilies. In a medium saucier, simmer the chilies, onion, and garlic in two cups of water for 15 minutes until soft. Transfer the mixture to a high speed blender and process until completely smooth.
Pro Tip: Use a fine mesh sieve to strain the puree. This removes any recalcitrant bits of chili skin, ensuring your consomme is silky rather than gritty. A silicone spatula is essential here to push every gram of flavor through the mesh.
3. The Deglaze and Infuse
Return the seared meat to the pot. Pour in the chili puree, vinegar, tomatoes, and beef broth. Add the cinnamon, cumin, and oregano. Use a bench scraper or wooden spoon to scrape the bottom of the pot to deglaze the fond.
Pro Tip: The acidity in the vinegar acts as a chemical tenderizer, beginning the process of breaking down the tough protein strands while the liquid is still coming to temperature.
4. The Thermal Breakdown
Cover the pot tightly and place in a 150C / 300F oven. Braise for 4 to 5 hours. The meat is ready when it offers zero resistance to a fork.
Pro Tip: Constant temperature is king. Avoid opening the lid, which causes a massive thermal drop. Use a dual-probe wired thermometer to monitor the internal ambient temperature of the liquid without breaking the seal.
5. The Fat Harvest
Remove the meat and shred it using two forks. Set aside. Let the liquid sit for 10 minutes. A thick layer of red oil (tallow infused with chili) will rise to the top. Carefully skim this oil into a separate bowl.
Pro Tip: This oil is your secret weapon. It contains the fat soluble flavor compounds from the chilies. You will dip your tortillas in this fat before hitting the griddle to ensure a perfect, non-stick, flavorful sear.
6. The Assembly
Dip a tortilla into the reserved fat, place on a hot griddle, add a handful of Oaxaca cheese and the shredded beef. Fold and fry until the cheese is emulsified and the shell is crisp. Serve with a bowl of the braising liquid (consomme) for dipping.
Pro Tip: Use a heavyweight offset spatula to flip the tacos. The weight helps press the taco against the heat source, ensuring even browning and maximum crunch.
Section B: Prep & Timing Fault-Lines:
The most common failure is the "rushed braise." If you attempt to boil the meat to save time, the muscle fibers will tighten and squeeze out all moisture, resulting in dry, rubbery beef. If your consomme is too thin, it likely did not reduce enough; remove the lid during the last 45 minutes of cooking to allow excess water to aerate and evaporate. If the fat does not separate, the liquid is moving too much; kill the heat and let gravity do the work.
THE VISUAL SPECTRUM
Section C: Thermal & Visual Troubleshooting:
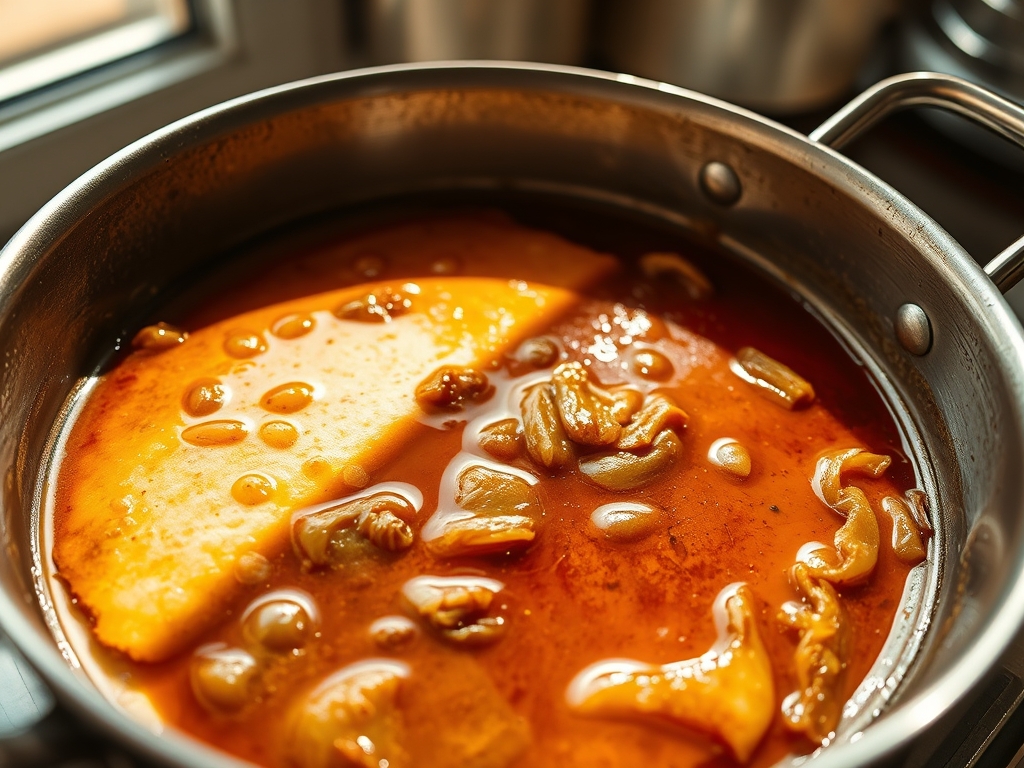
Referencing the Masterclass photo, your consomme should possess a deep, mahogany hue, not a bright orange. A bright orange color indicates under-toasted chilies or insufficient cooking time. The tacos should show "leopard spotting" on the shell; these are small, dark toasted spots of corn and fat. If the tacos look pale, your griddle temperature is too low. If the meat looks grey rather than dark red, it hasn't spent enough time submerged in the chili bath. The cheese should be fully melted and beginning to "lace" or crisp at the edges where it touches the metal.
THE DEEP DIVE
Macro Nutrition Profile:
A standard serving of three Mexican Birria Tacos with 100ml of consomme typically contains 850 calories. This breaks down into 55g of protein, 45g of fat, and 60g of carbohydrates. It is a high-sodium dish due to the concentrated broth, so adjust accordingly if monitoring intake.
Dietary Swaps:
- Vegan: Replace beef with king oyster mushrooms and jackfruit. Use vegetable stock and substitute cheese with a cashew-based melt.
- Keto: Eliminate the corn tortillas. Serve the shredded beef in a bowl with plenty of consomme, topped with avocado, radish, and extra cheese.
- GF: Ensure your corn tortillas are certified gluten-free and check your beef broth for hidden wheat thickeners.
Meal Prep & Reheating Science:
Birria is actually superior the next day. As it cools, the flavors continue to infuse and the gelatin sets. When reheating, do not use a microwave; it vibrates water molecules too violently and destroys the texture. Instead, reheat the meat slowly in a small amount of consomme over low heat to maintain the molecular structure of the fats and proteins.
THE KITCHEN TABLE
Why is my Birria bitter?
You likely scorched the dried chilies or left the seeds in. Scorched chili skin releases tannins that taste like ash. Next time, toast them only until they become fragrant and slightly pliable, never blackened.
Can I use a slow cooker?
Yes, but you sacrifice the reduction quality. Set it to "Low" for 8 hours. You must still sear the meat in a pan first; the slow cooker cannot reach temperatures high enough for the Maillard reaction.
What is the best cheese to use?
Oaxaca is the gold standard for its superior "pull" and mild saltiness. If unavailable, a blend of low-moisture mozzarella and Monterey Jack provides a similar melt profile and structural integrity under high heat.
How do I get the consomme clearer?
If you prefer a thinner, clearer broth, pass the final liquid through a coffee filter or a triple layer of cheesecloth. This removes the fine particulates while keeping the intense flavor profile intact.