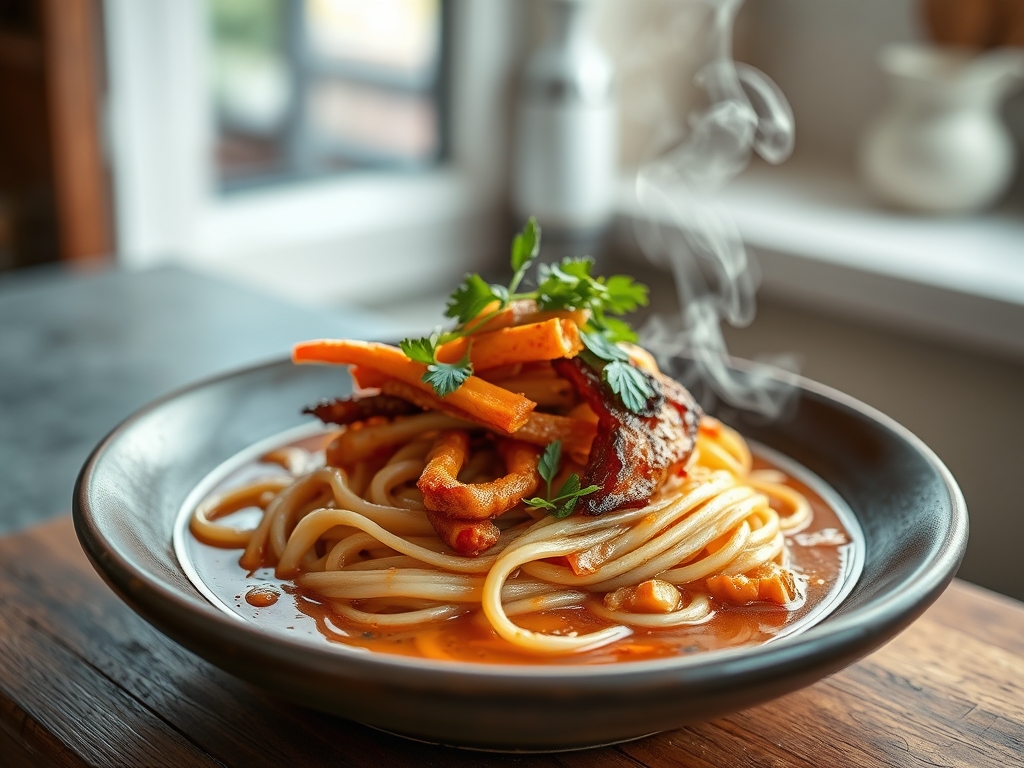
Forget the low and slow myths of the prairie; we are operating on a high-velocity timeline where flavor density is non-negotiable. When the clock is ticking and the craving for a robust, piquant bowl of comfort hits, you do not have four hours to wait for a slow cooker to catch up to your metabolism. You need a Quick Spicy Chili that utilizes aggressive heat management and strategic ingredient selection to bypass the traditional simmering phase. We are talking about a culinary sprint that transforms raw proteins and dormant spices into a viscous, cohesive masterpiece in under twenty minutes. This is not a compromise. This is an engineering feat of thermal efficiency and Maillard optimization. By leveraging high-surface-area browning and the rapid infusion of capsaicin, we create a profile that mimics hours of reduction. Every second counts in this kitchen audit. We are here to maximize the molecular impact of every gram of cumin and every drop of fat. Prepare your station; we are about to accelerate the timeline of traditional comfort food.
THE DATA MATRIX
| Metric | Specification |
|---|---|
| Prep Time | 5 Minutes |
| Execution Time | 15 Minutes |
| Yield | 4 Servings |
| Complexity (1-10) | 4 |
| Estimated Cost per Serving | $3.25 |
THE GATHERS
Ingredient Protocol:
- 450g / 1 lb Lean Ground Beef (85/15 ratio)
- 1 large / 150g Yellow Onion, finely diced
- 3 cloves / 15g Garlic, minced
- 30ml / 2 tbsp Neutral Oil (Grapeseed or Avocado)
- 45g / 3 tbsp Chili Powder
- 10g / 2 tsp Cumin, toasted
- 5g / 1 tsp Smoked Paprika
- 2g / 0.5 tsp Cayenne Pepper (Adjust for heat)
- 400g / 14.5 oz Canned Crushed Tomatoes
- 425g / 15 oz Canned Kidney Beans, rinsed and drained
- 240ml / 1 cup Beef Bone Broth
- 15ml / 1 tbsp Worcestershire Sauce
- To taste: Kosher Salt and Black Pepper
Section A: Ingredient Quality Audit:
The primary failure point in a high-speed chili is the moisture content of the aromatics. If your onions are weeping rather than searing, your temperature is too low. If the ground beef is grey and flaccid, it was likely frozen and thawed improperly, leading to cellular rupture and excess water release. To fix this, pat the beef dry with paper towels before it hits the pan. Furthermore, ensure your spices are not expired artifacts from the previous decade. If the chili powder does not have a pungent, earthy aroma when opened, it has lost its volatile oils. The fix: bloom the spices in the hot fat for sixty seconds to wake up the remaining compounds before adding any liquids.
THE MASTERCLASS
1. Thermal Priming and Protein Sear
Set your heavy-bottomed saucier or cast-iron pot over medium-high heat. Add the neutral oil and wait for the shimmer. Introduce the ground beef in a flat layer, resisting the urge to stir immediately. We are looking for an aggressive Maillard reaction to create a deep flavor base. Once a crust forms, use a bench scraper or stiff spatula to break the protein into small, uniform crumbles.
Pro Tip: Uniformity is the secret to speed. Smaller protein particles increase the total surface area, allowing for faster heat penetration and more efficient fat rendering.
2. Aromatic Integration
Add the diced onions to the center of the pot, using the rendered fat from the beef as the cooking medium. Sauté until translucent, then add the minced garlic. Use a digital scale to ensure your garlic-to-onion ratio is precise; too much garlic can turn bitter if scorched at these high temperatures.
Pro Tip: Onions contain natural sugars that caramelize rapidly. By adding them after the beef has started to brown, you prevent them from turning into mush while still achieving the desired sweetness.
3. Spice Blooming and Deglazing
Push the meat and aromatics to the perimeter and drop your spice blend into the center. Let the spices infuse into the oil for 45 to 60 seconds until fragrant. Immediately pour in the Worcestershire sauce and a splash of the broth to deglaze the bottom of the pan, scraping up all the brown bits (the fond).
Pro Tip: Deglazing is a chemical extraction process. The liquid dissolves the caramelized proteins stuck to the pan, reintegrating that concentrated "umami" back into the liquid phase of your chili.
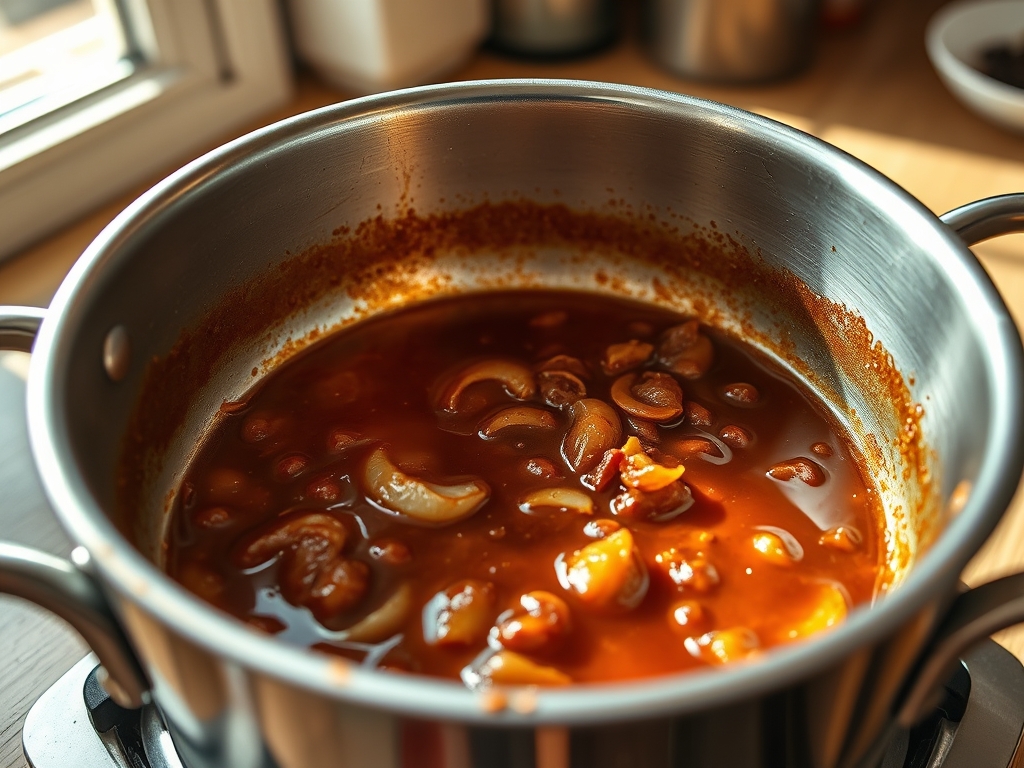
4. High-Velocity Simmer
Add the crushed tomatoes, kidney beans, and the remaining broth. Bring the mixture to a violent boil, then immediately reduce to a hard simmer. Because we are using crushed tomatoes rather than whole or diced, the viscosity increases almost instantly, eliminating the need for a long reduction time.
Pro Tip: Use a whisk to briefly aerate the liquid as it comes to a boil. This helps distribute the spice particles evenly and prevents the heavier solids from scorching on the bottom of the vessel.
5. Final Emulsification and Seasoning
In the final two minutes, taste for salt and acidity. If the chili feels flat, a teaspoon of apple cider vinegar or a squeeze of lime can brighten the entire profile. Stir vigorously to ensure the fat is fully emulsified into the tomato base, creating a glossy, rich texture.
Pro Tip: Resting is part of the execution. Even a three-minute rest off the heat allows the proteins to relax and the liquid to thicken further through starch gelatinization from the beans.
Section B: Prep & Timing Fault-Lines:
The most common human error in this protocol is "crowding the pan." If you dump all ingredients in simultaneously, the temperature of the vessel drops below the boiling point, and you end up steaming your meat rather than searing it. This adds ten minutes to your cook time as you wait for the water to evaporate. Use a high-BTU burner and work in stages. If your kitchen scale shows you have more than 500g of meat, sear it in two batches to maintain the thermal integrity of the pot.
THE VISUAL SPECTRUM
Section C: Thermal & Visual Troubleshooting:
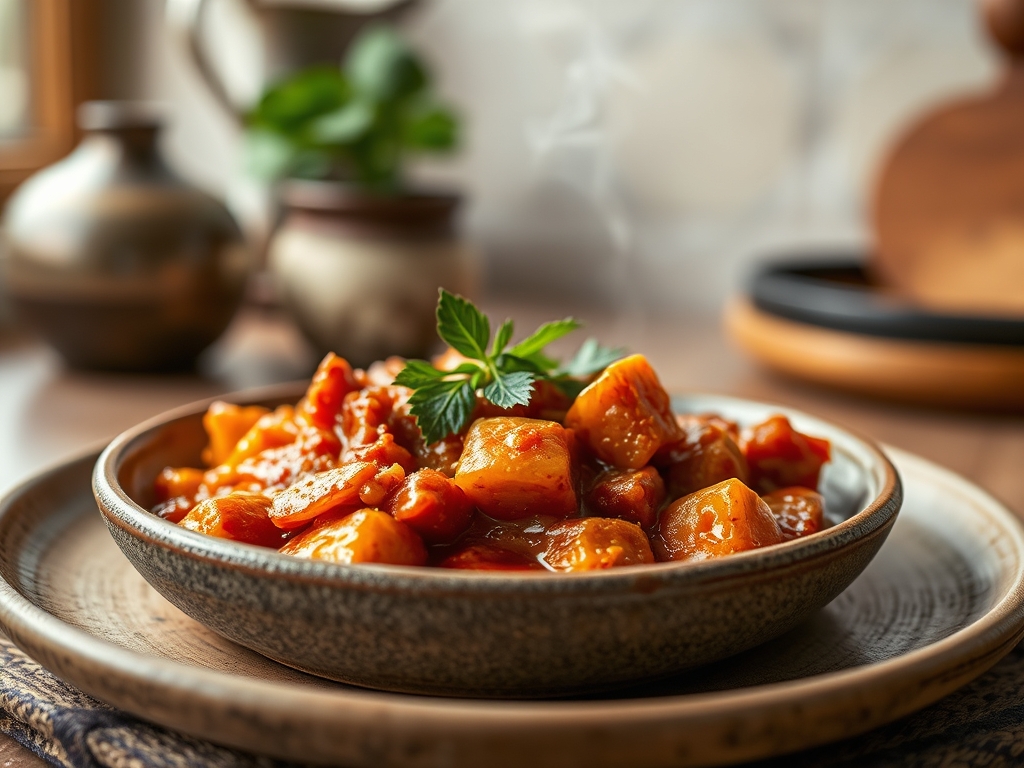
Referencing the Masterclass photo, your Quick Spicy Chili should exhibit a deep, rust-red hue, not a bright "ketchup" orange. If your chili looks pale, your spices did not bloom long enough, or you skimped on the tomato paste/crushed tomatoes. If the liquid is separating from the solids, the emulsification failed; stir in a teaspoon of cold butter or a slurry to bind it. Note the texture in the image: the beans are intact but the liquid is thick enough to coat the back of a spoon. If yours is watery, turn up the heat and let it "gallop" for two more minutes to drive off excess moisture.
THE DEEP DIVE
Macro Nutrition Profile
Per serving, this chili delivers approximately 32g of Protein, 18g of Carbohydrates (with 7g of Fiber), and 14g of Fat. It is a high-density fuel source designed for rapid recovery and sustained satiety. The capsaicin from the cayenne also provides a metabolic "kick" that aids in thermogenesis.
Dietary Swaps
- Vegan: Replace ground beef with 450g of crumbled firm tofu or "soy crumbles" and use vegetable broth.
- Keto: Omit the kidney beans and increase the beef to 680g / 1.5 lbs. Add diced bell peppers for texture.
- Gluten-Free: This recipe is naturally GF, but always audit your Worcestershire sauce and beef broth labels for hidden wheat stabilizers.
Meal Prep & Reheating Science
When reheating, the molecular structure of the beans can become chalky if microwaved at high power. Use a low power setting (50%) and add a tablespoon of water to re-hydrate the viscous sauce. This prevents the proteins from tightening further and maintains the original mouthfeel.
THE KITCHEN TABLE
How do I make it spicier without ruining the flavor?
Incorporate canned chipotle peppers in adobo. This adds a smoky depth alongside the heat. Avoid using pure extract drops, as they lack the complex flavor profile required for a balanced Quick Spicy Chili.
Can I use dried beans instead?
Not for this twenty-minute protocol. Dried beans require a multi-hour hydration and cooking cycle to break down the complex starches. Canned beans are pre-gelatinized and perfect for high-speed execution.
Why is my chili bitter?
You likely scorched the garlic or the spices. If this happens, add a pinch of brown sugar or a teaspoon of cocoa powder. The sweetness or earthy bitterness of the cocoa can neutralize the acrid "burnt" notes.
What is the best pot for this?
A wide, shallow saucier or a Dutch oven. The wider surface area allows for faster evaporation, which is the primary mechanism for thickening a sauce in under fifteen minutes.