Stop looking at your stove as a mere appliance and start treating it like a thermal reactor. We are not just cooking dinner; we are auditing the fundamental chemistry of the Philippines' most resilient culinary export. The classic adobo is a study in preservation and pH balance, but today we are introducing a chaotic variable: heat. Spicy Chicken Adobo is the high-octane evolution of the traditional vinegar-soy matrix. Imagine the scent of garlic hitting shimmering oil, followed immediately by the sharp, piquant sting of bird's eye chilies. The air in your kitchen should vibrate with the scent of acetic acid and capsaicin. We are aiming for a sauce that is viscous, dark, and dangerously addictive. This is a dish that demands respect for its ratios and patience for its reduction. If you are looking for a bland, watery stew, you have walked into the wrong laboratory. We are here to render fat, infuse aromatics, and achieve a glaze so glossy it reflects your own ambitious face.
THE DATA MATRIX
| Metric | Specification |
|---|---|
| Prep Time | 20 Minutes |
| Execution Time | 45 Minutes |
| Yield | 4 Servings |
| Complexity | 4 / 10 |
| Estimated Cost per Serving | $3.50 – $4.50 |
THE GATHERS
Ingredient Protocol:
- 1 kg / 2.2 lbs Bone-in, skin-on chicken thighs
- 120 ml / 0.5 cup Soy sauce (preferably silver swan or similar dark soy)
- 80 ml / 0.33 cup Cane vinegar (or apple cider vinegar)
- 10-12 cloves / 50g Garlic, smashed and peeled
- 6-8 pieces / 15g Bird's eye chilies (Siling Labuyo), sliced
- 3 pieces / 1g Dried bay leaves
- 10g / 2 tsp Whole black peppercorns
- 15ml / 1 tbsp Neutral high-smoke point oil
- 5g / 1 tsp Brown sugar (optional for balance)
- 240 ml / 1 cup Water or unsalted chicken stock
Section A: Ingredient Quality Audit:
If your vinegar tastes like industrial cleaner, your adobo will fail. Use Cane Vinegar for its mellow, slightly sweet acidity. If you only have white distilled vinegar, dilute it with 10 percent water to soften the punch. For the chicken, avoid "woody" breast meat at all costs. The high collagen content in thighs is non-negotiable for a silky sauce. If your chilies lack punch, do not just add more; bruise them in a mortar and pestle to release the internal oils before they hit the pan. This ensures the capsaicin is distributed throughout the lipid phase of the sauce rather than just floating on top.
THE MASTERCLASS
1. The Maillard Initiation
Pat the chicken dry using lint-free towels. Moisture is the enemy of the Maillard reaction. Heat your heavy-bottomed saucier over medium-high heat with the oil. Sear the chicken skin-side down until the fat begins to render and the skin turns a deep, mahogany gold. Do not crowd the pan; work in batches if necessary to prevent steaming.
Pro Tip: Use a digital infrared thermometer to ensure your pan surface is between 375F and 400F. This temperature range optimizes browning without scorching the delicate proteins.
2. The Aromatic Infusion
Remove the chicken and set aside. Reduce heat to medium. Toss in the smashed garlic, peppercorns, and sliced chilies. Use a stainless steel bench scraper to move the garlic around, ensuring even contact with the rendered chicken fat. Sauté until the garlic is golden but not bitter.
Pro Tip: Garlic contains sulfur compounds that mellow with heat. By frying them in the chicken fat first, you create a flavored lipid base that carries the piquant heat of the chilies into every fiber of the meat.
3. The Deglaze and Simmer
Return the chicken to the pan. Pour in the soy sauce and water. Add the bay leaves. Bring to a rapid boil, then immediately drop to a low simmer. Cover and let the thermal energy break down the connective tissues for 25 minutes.
Pro Tip: Use a digital scale to measure your liquids by weight for absolute consistency. Volume measurements can vary based on the shape of your measuring cup, but mass never lies.
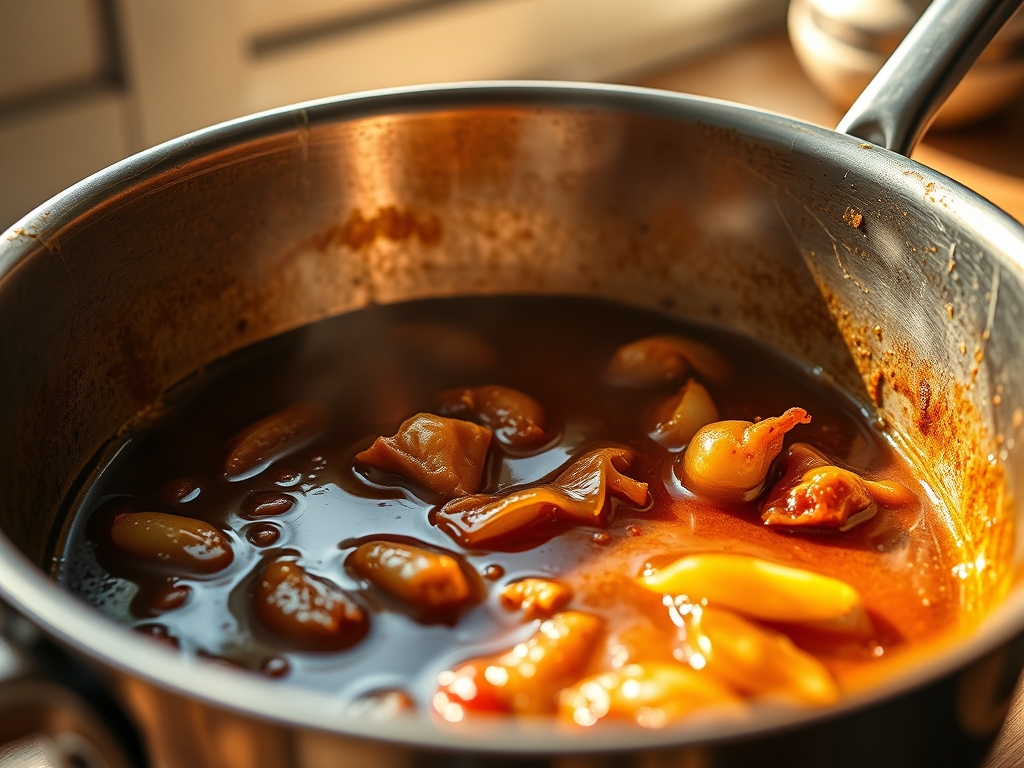
4. The Vinegar Equilibrium
Pour the vinegar over the mixture. Crucial Instruction: Do not stir. Let the vinegar boil off its harshest acidic notes for 3 to 5 minutes. This allows the acetic acid to mellow and integrate with the soy proteins without curdling the sauce's flavor profile.
Pro Tip: Stirring too early interrupts the "cooking" of the vinegar, resulting in a raw, biting aftertaste that disrupts the viscous harmony of the final glaze.
5. The Reduction Phase
Remove the lid. Increase the heat slightly. We are now looking for "The Glaze." Let the liquid reduce until it coats the back of a spoon. The sauce should transition from a thin soup to a thick, shimmering lacquer.
Pro Tip: This is where you deglaze the sides of the pan. Use a silicone spatula to scrape down the concentrated flavor deposits (fond) and incorporate them back into the sauce for maximum depth.
Section B: Prep & Timing Fault-Lines:
The most common failure is the "Boiled Chicken Syndrome." This happens when the heat is too low during the initial sear, or the pan is overcrowded. If your chicken looks grey, you have failed the Maillard test. Another timing error is adding the garlic too early during the sear; garlic burns at a lower temperature than chicken fat renders. If you see black specks in your oil, wipe the pan and start over. Bitterness cannot be "fixed" later.
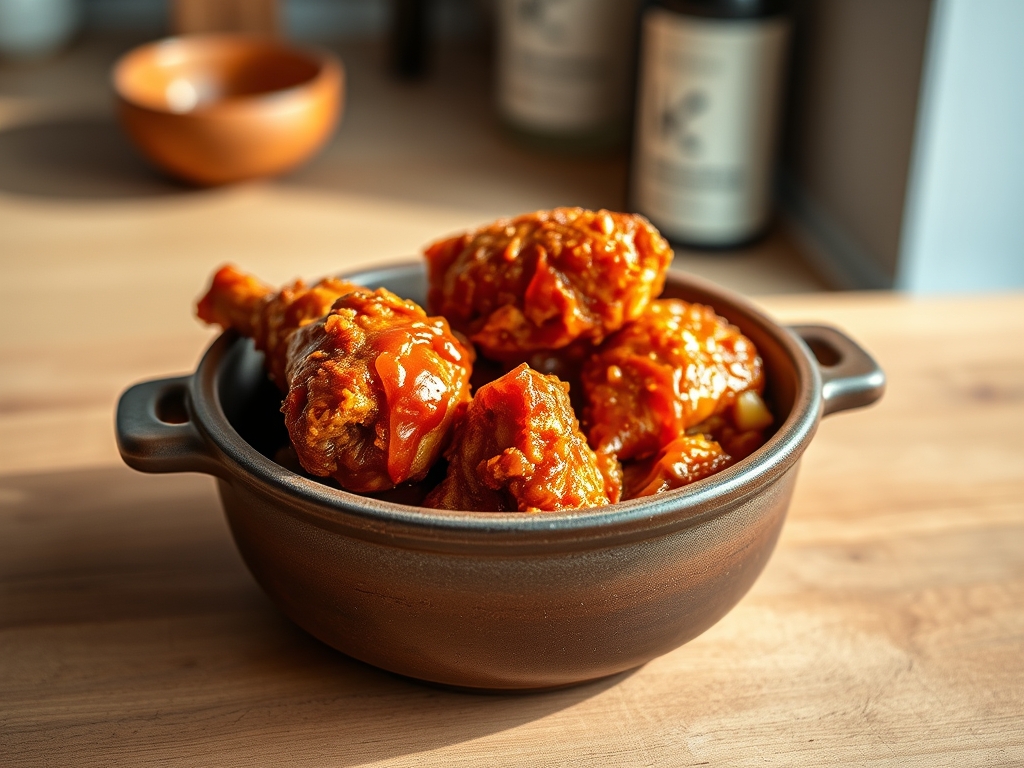
THE VISUAL SPECTRUM
Section C: Thermal & Visual Troubleshooting:
Look at the Masterclass photo above. Notice the deep, translucent amber of the sauce. If your sauce looks pale or "muddy," you likely used too much water or didn't reduce it long enough. If the oil is separating into large, clear pools, your emulsion has broken. To fix this, add a teaspoon of water and whisk vigorously over low heat to re-emulsify the fats. The chicken skin should look taut and lacquered, not flabby. If the skin is falling off, you overcooked the bird; next time, pull the chicken out once it hits an internal temperature of 165F and reduce the sauce independently.
THE DEEP DIVE
Macro Nutrition Profile:
A standard serving (one thigh with sauce) contains approximately 320 calories, 24g of protein, 18g of fat, and 6g of carbohydrates. The sodium content is high due to the soy sauce; manage this by using low-sodium soy variants or serving with unsalted steamed jasmine rice to balance the palate.
Dietary Swaps:
- Vegan: Replace chicken with extra-firm tofu or king oyster mushrooms. Use liquid aminos instead of soy sauce.
- Keto: Omit the brown sugar. The natural fats in the chicken thighs make this an ideal ketogenic meal.
- GF: Ensure your soy sauce is certified Gluten-Free or use Tamari.
Meal Prep & Reheating Science:
Adobo is famous for being better on day two. As the dish cools, the acetic acid continues to break down the muscle fibers, and the flavors infuse deeper into the bone marrow. To reheat, avoid the microwave, which can toughen the proteins. Instead, use a small skillet over low heat with a splash of water to loosen the collagen-rich sauce back into a liquid state.
THE KITCHEN TABLE
Why is my adobo sauce so salty?
You likely reduced it too far or used a high-sodium soy sauce without enough water. Balance it by adding a touch more vinegar or a pinch of brown sugar to distract the taste buds.
Can I use chicken breast instead?
You can, but you shouldn't. Breasts lack the fat and connective tissue required to withstand the long simmer, resulting in a dry, stringy texture that fails to carry the sauce effectively.
How do I make it even spicier?
Do not just add more chilies at the end. Instead, sauté the chilies in the oil at the very beginning to aerate the capsaicin, ensuring the heat is molecularly bonded to the fat.
What is the best rice to serve with this?
Standard long-grain Jasmine rice is the industry standard. Its neutral profile and slight floral aroma provide the perfect canvas for the aggressive, salty, and spicy notes of the adobo.